Pizza lovers will adore this tasty 3-ingredient gluten-free vegan pizza dough which is ready in just 3 minutes, contains just 99 calories per serving, and is made entirely from cheap, simple ingredients.

When you’re in the mood for pizza and you don’t have a store-bought vegan, gluten-free pizza base, this easy pizza dough recipe comes to the rescue.
This delicious 3-ingredient pizza base contains no eggs, no gluten, no dairy, and no yeast, unlike traditional pizza dough. You don’t have to wait for it to rise, don’t have to knead it, it is so quick and easy to make.
Ever since I was diagnosed with celiac disease, I’ve tried a variety of gluten-free pizza dough recipes made from speciality expensive ingredients, and most of them were inedible.
We normally have a pizza night every weekend, and the last thing I want to do on a Friday night is spend hours in the kitchen. This homemade pizza dough takes just 3 minutes to throw together, almost the same length of time it takes to open a packet of store-bought pizza bases and wrap the unused ones back up again. This is definitely faster than waiting for a pizza delivery.
The first time I tried this great recipe, it had such a fluffy texture, and a crispy exterior, that I knew I’d found a winner.
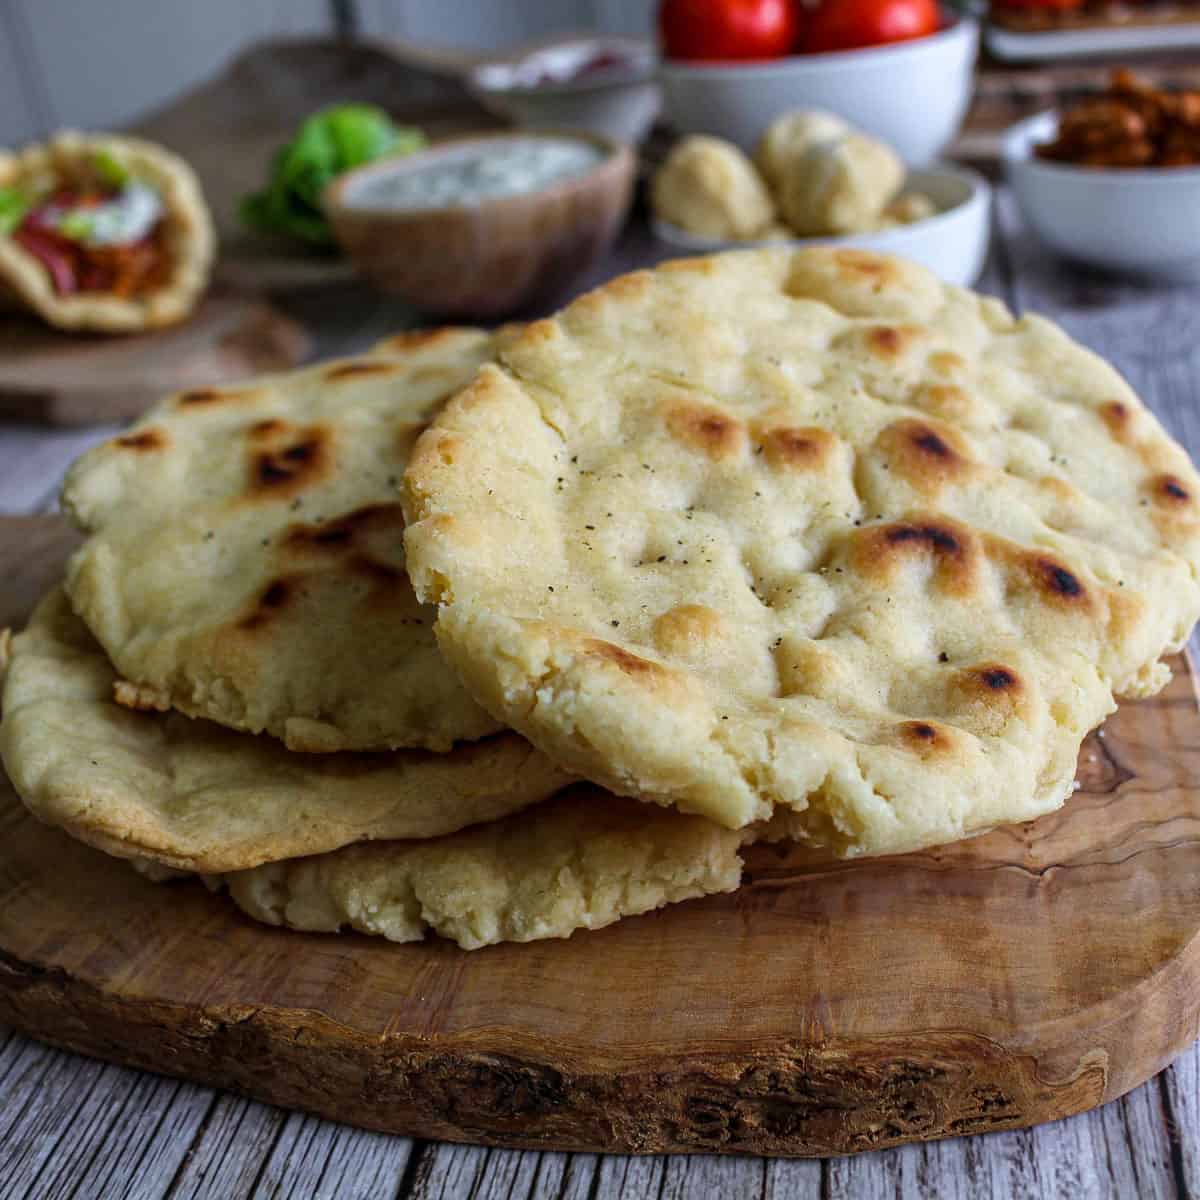
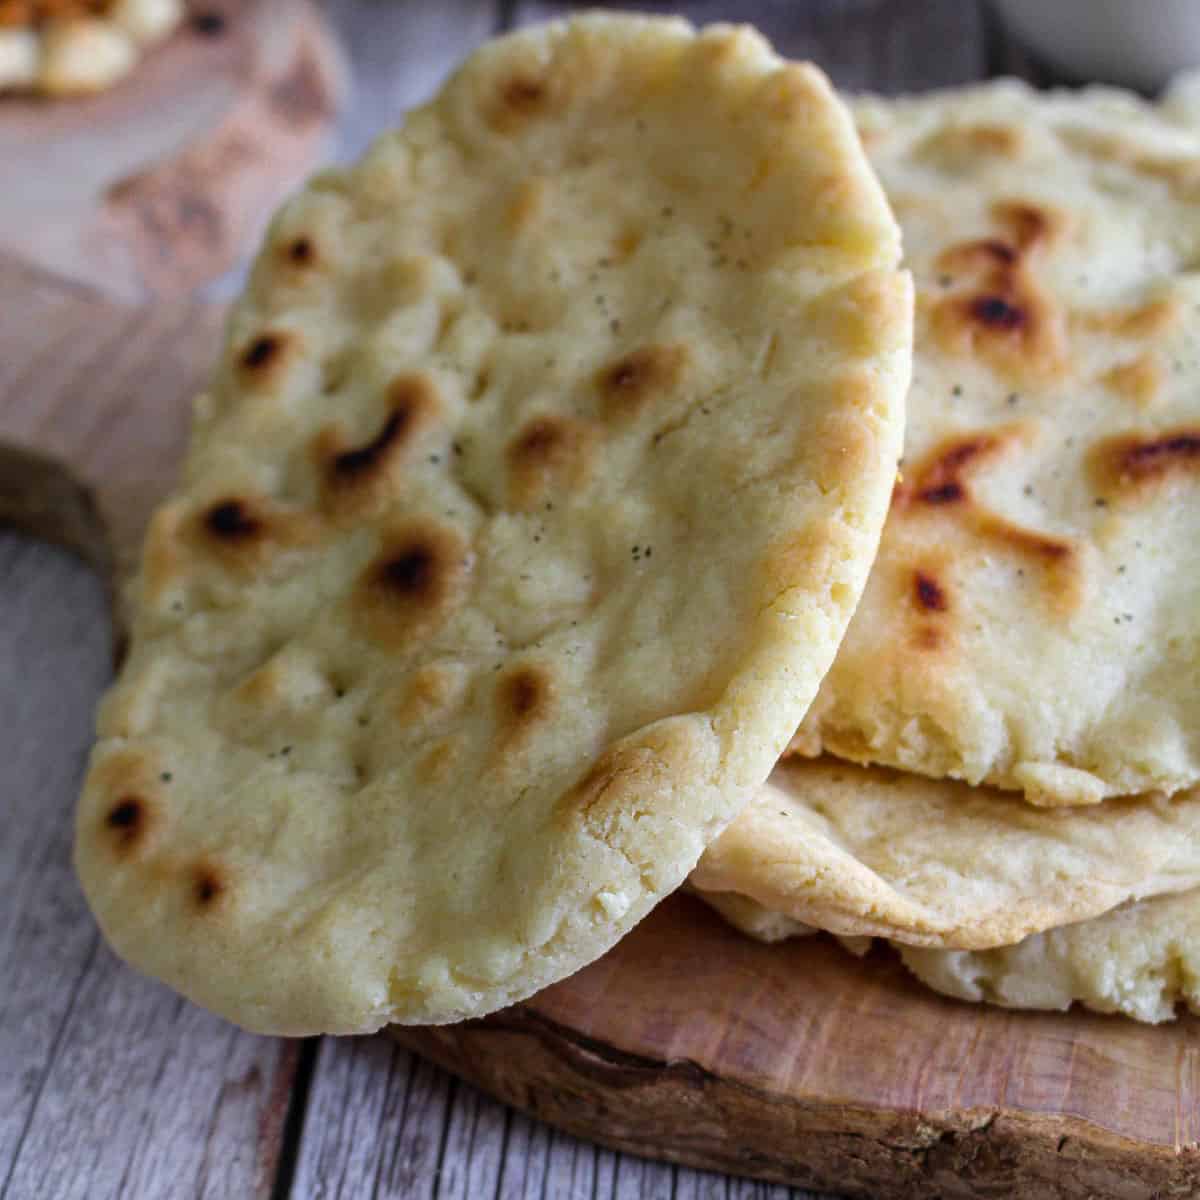
If I’m not making this gluten-free pizza dough, I use a similar recipe to make some gluten-free burger buns, gluten-free flatbreads, gluten-free dough balls, or gluten-free naan breads.
I love to spread these pizza bases with my no-cook homemade pizza sauce which is equally as quick to throw together, and then I top the pizza with my favorite toppings which are usually roasted red peppers, pineapple, some vegan cheese, or my homemade vegan cheese seasoning containing nutritional yeast.
The best part about this pizza dough recipe is that you don’t need any special equipment, you can cook it in the air fryer, oven, or pan, so I tend to choose the cooking equipment that’s not already in use when I make these pizza bases.
This could quite easily be a 2-ingredient pizza dough recipe if you skip the baking powder.
And at under 100 calories per portion, this recipe is perfect for those who are sticking to a calorie-counted diet.
Jump to:
- Video Demonstration
- Why You’ll Love This Recipe
- Ingredients
- Ingredient Substitutions
- The Structure Of A Plant Based Plate
- Recommended Equipment
- How To Make This Recipe
- Ways To Use This Recipe
- Vegan Carbohydrate Side Dishes
- Vegan Vegetable Side Dishes
- Vegan Meat Pizza Toppings
- Vegan Dips
- How To Serve
- Serving Sizes
- What Is Gluten-Free Pizza Dough Made Of?
- How To Store Leftovers
- More Tasty Bread Recipes
- 🥬️🥭️ 7 Day Meal Plan
- FREE Gifts
- Recipe
- 3 Ingredient Gluten Free Pizza Dough
Video Demonstration
If you’d like to see how easy it is to throw all this together, check out my video where I walk you through the recipe step by step. Click here to subscribe to my Youtube channel.
Why You’ll Love This Recipe
- This recipe and all recipes on my website are suitable for the special diets, vegan, plant based, gluten free, dairy free, egg free, free from refined sugar, and vegetarian.
- This recipe contains 99 calories per serving.
- One serving of this recipe contains 12% of your recommended daily intake of calcium.
- This recipe takes a total of 8 minutes from start to finish.
- I have simplified this recipe by only using 3 ingredients and using everyday ingredients such as flour and plant yogurt.
Ingredients

Ingredient Substitutions
- Gluten-free flour: Although I used gluten-free self-raising flour, this recipe should work with plain gluten-free flour or regular all-purpose flour or regular plain or self-raising flour. When you use self-raising flour, it normally contains baking powder so you don’t have to add in more if you don’t want to.
- Plant Yogurt: Although I used soya yogurt for this recipe, it will work with any type of yogurt. I would suggest using a plain-tasting yogurt or coconut flavor and avoid any fruit flavors unless you want your bread to taste like a dessert.
- Baking Powder: The recipe will still work without this, but this just helps to make it a bit lighter.
- Sea Salt: You can use any type of salt or none if you choose. The recipe will work without it.
The Structure Of A Plant Based Plate
Each of the recipes I create fits into my Plant Plate System. This system incorporates 5 food groups into every meal.
The 5 food groups are 1) Plant Protein, 2), Leaves, Fruit, And Veg, 3) Aesthetic Additions, 4) Nutrient Packed Carbohydrates, and 5) Taste
This recipe is a nutrient-packed carb side dish, and is not a complete meal.
The diagram below helps you see the 5 different components of a Plant-Based Plate.
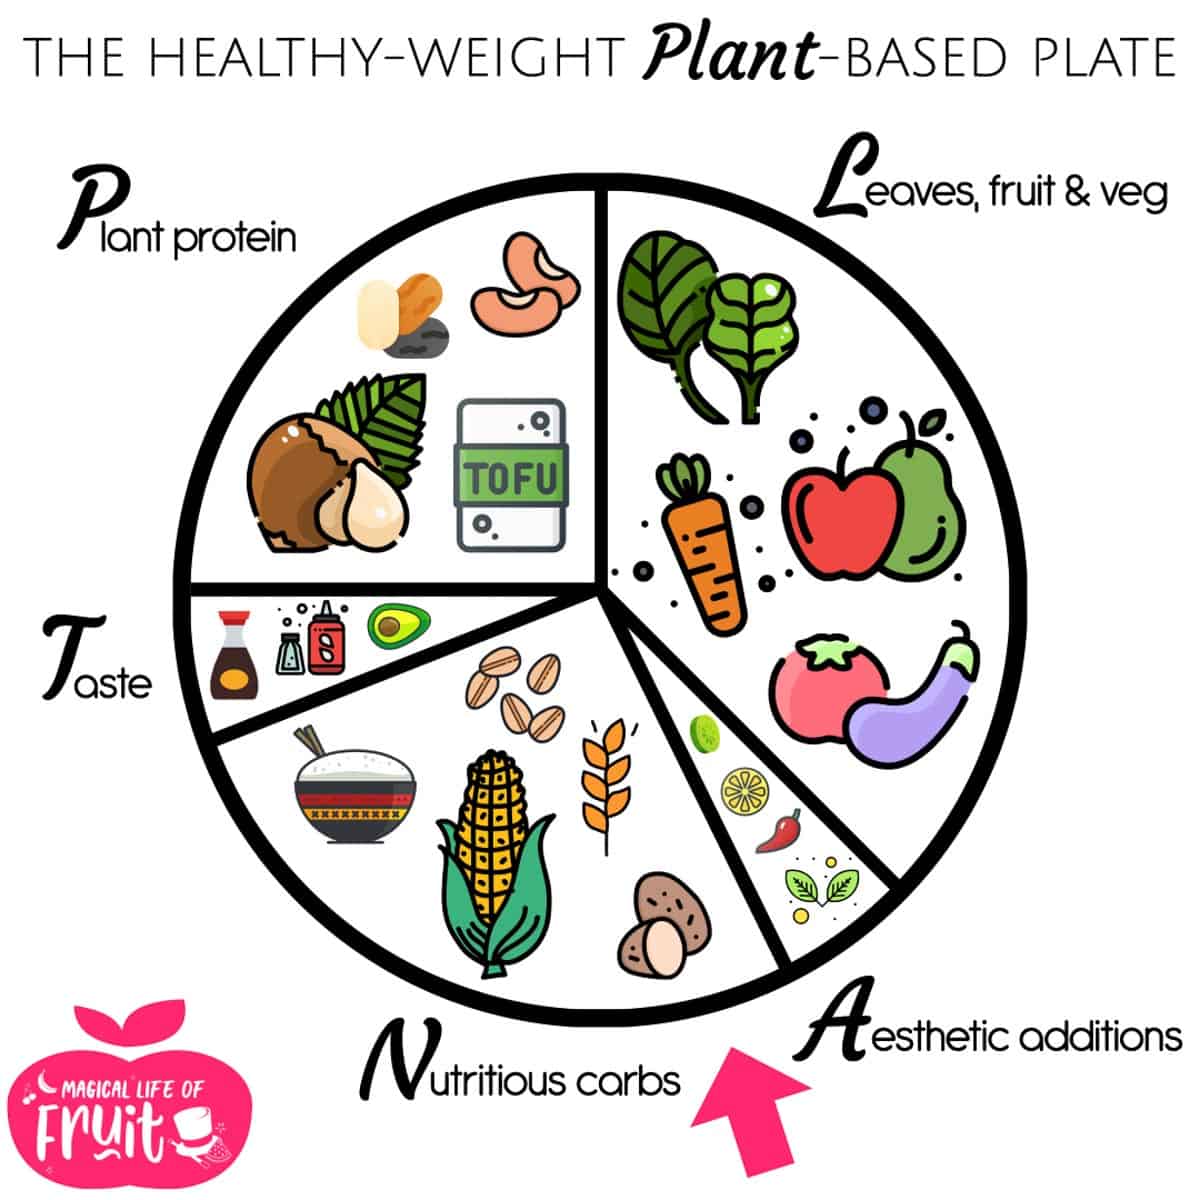
Click here to discover more about my Plant Plate System and some of the benefits of eating this way.
Recommended Equipment
Here are the main kitchen equipment tools I have used to create this recipe.
Non-Stick Pan
I highly suggest you use a non-stick pan for the vegetable and sauce part of this recipe. In a non-stick pan, this recipe cooks like a dream, with minimal stirring needed.
You can get the large pan that I use by clicking here. Please note, I bought the largest size.
You can get the 10-piece cookware set that I have by clicking here. Please note, this set contains a smaller version of the large deep pan that I bought separately.
Air Fryer
My air fryer has been one of the best kitchen gadgets I ever invested in. And I’m absolutely obsessed with it. With 2 fussy kids who don’t eat the same food as me or each other, my air fryer gets used every single day to make them fast, nutrient-packed food that they will eat.
I love cooking with an air fryer because food cooks much more quickly, is more crispy and tastier, and saves a fortune when it comes to my fuel bill.
Air Fryer Silicone Baking Dish
I often use this silicone baking dish when I’m baking with wet ingredients. It is 8 inches or 20 cm and square. It fits my Cosori Air Fryer. Make sure you measure the inside of your Air Fryer before purchasing an Air Fryer baking dish.
This is the silicone air fryer baking dish that I use every day.
How To Make This Recipe
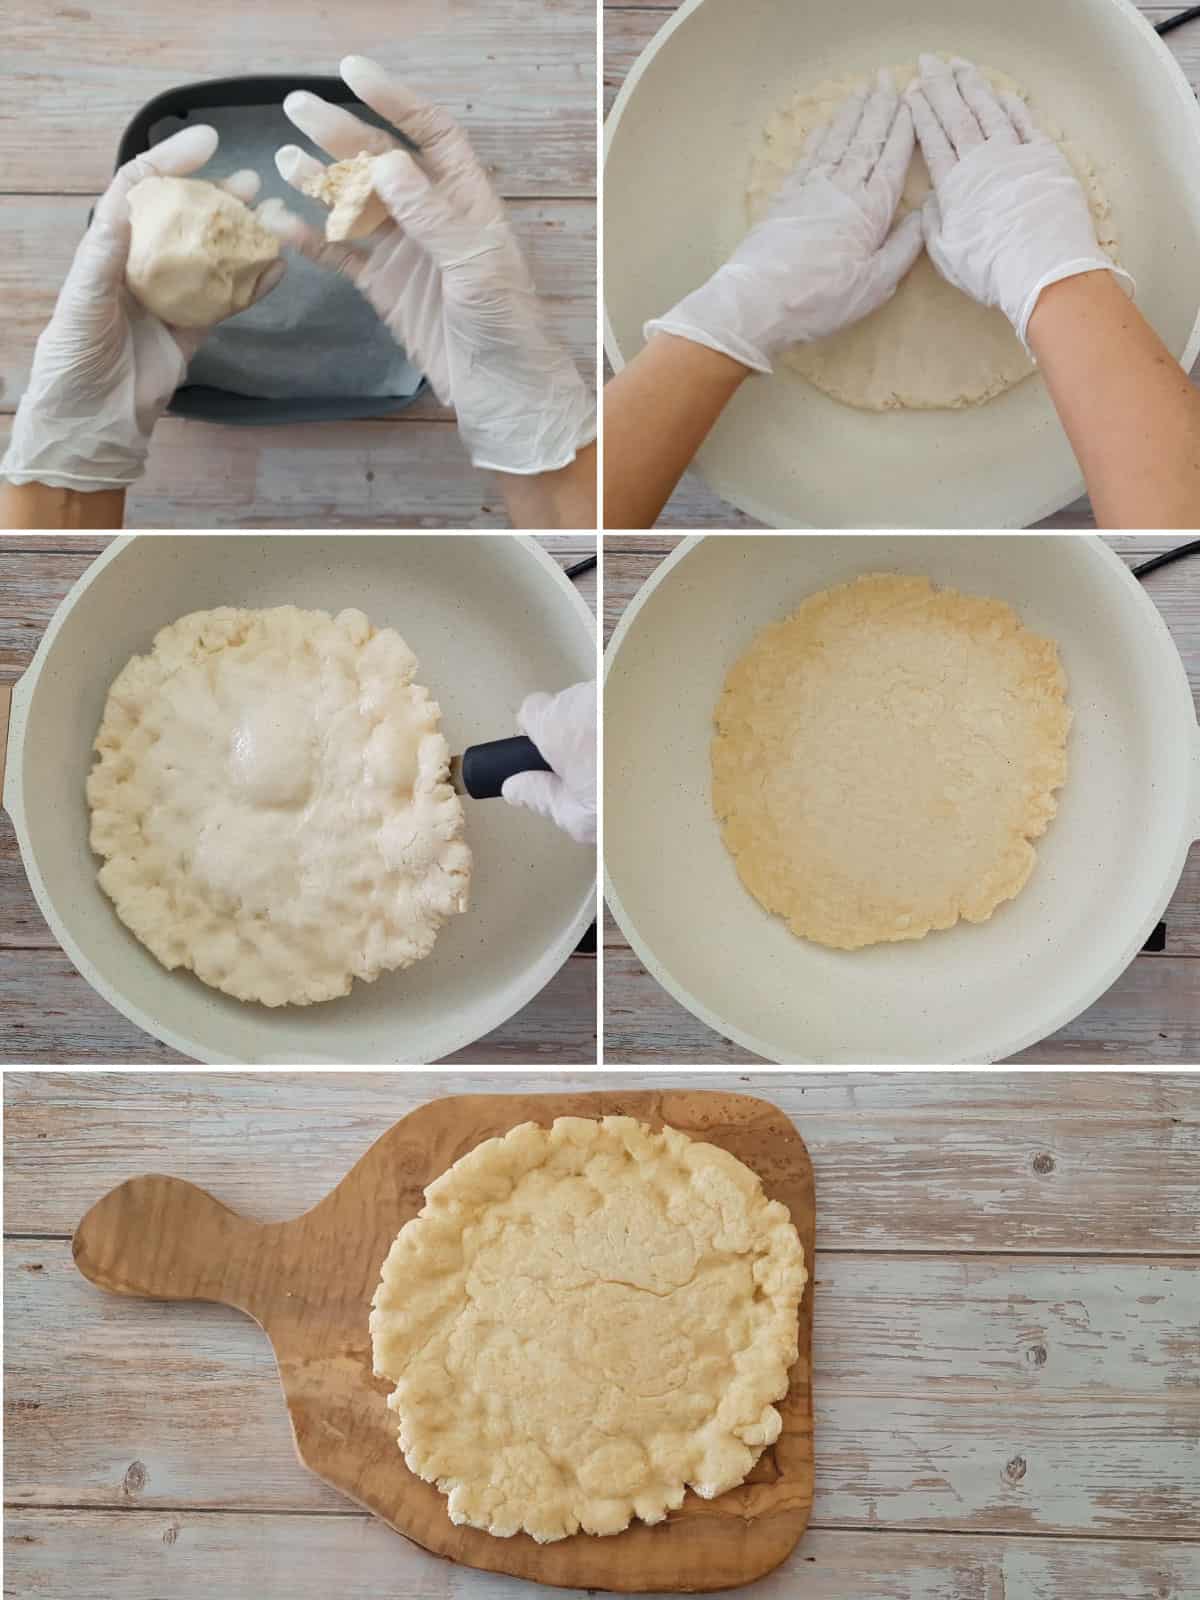
- Mix all the ingredients together to form a ball.
- Then make smaller dough balls out of it if you are making mini pizzas otherwise use the entire dough to make one large pizza.
- Next flatten the dough into the shape of a pizza.
- Finally either bake in an air fryer or oven or cook in a pan.
Ways To Use This Recipe
Here are some of my favorite pizza toppings for this pizza base:
- Top the pizza with some of my no-cook homemade pizza sauce and then add roasted red pepper and my homemade vegan cheese seasoning.
- Top the pizza with tomato paste or puree, then add pineapple, vegan ham, and vegan cheese
- Spread the base with oil-free hummus, then add chopped middle eastern falafels, red onion, and sundried tomatoes
Vegan Carbohydrate Side Dishes
Serve this recipe with any of the following carb side dishes which are all around 100 calories per serving:
- Easy Boiled Baby Potatoes
- Crispy Homemade Baked French Fries
- Spicy Sweet Potato Fries
- Most Crispy Vegan Jacket Potato
- Easy Whole Baked Sweet Potato
For more options, see all of my best vegan, gluten-free carbs side dishes.
Vegan Vegetable Side Dishes
Here are some vegetable side dishes that go very nicely with this recipe which are all under 100 calories per serving.
For more options, see all of my best gluten-free vegan vegetable side dishes.
Vegan Meat Pizza Toppings
Here are some vegan meat pizza toppings that go very nicely on top of this pizza instead of meat.
- Vegan Gluten Free Black Bean Meatballs
- Smoky Tempeh Bacon
- Vegan Jackfruit Shredded Chicken
- Easy Baked Mushroom Bacon
For more options, see all of my best gluten-free vegan meat recipes.
Vegan Dips
Here are some vegan dips or vegan sauces that go very nicely with this recipe, and are very quick to make. A gluten free naan bread is the perfect side dish for these recipes. These are all under 50 calories per serving.
- No Cook Marinara Sauce (this makes a great salsa or tomato sauce dip)
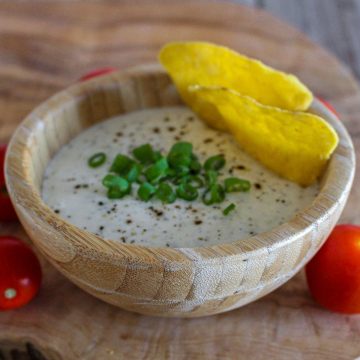
- Vegan Ranch Dip Recipe
- Creamy Edamame Guacamole
For more options, see all of my best gluten-free vegan dips recipes.
How To Serve
For best results, serve these pizza bases fresh on the same day. The pizza bases don’t taste quite as nice on the second day but they are still edible. Make and use the dough straight away.
Serving Sizes
These pizzas are fairly thin and small because each portion contains only 99 calories (but they are still the perfect size for a side dish of pizza), so if you are making food for those who are not restricting calories, you could easily double or triple this recipe to serve the same number of people. If I am making a meal based completely on pizza with no side dishes, I double the recipe and make more of a thick chunky pizza base. This also doubles the calories of the pizza bases.
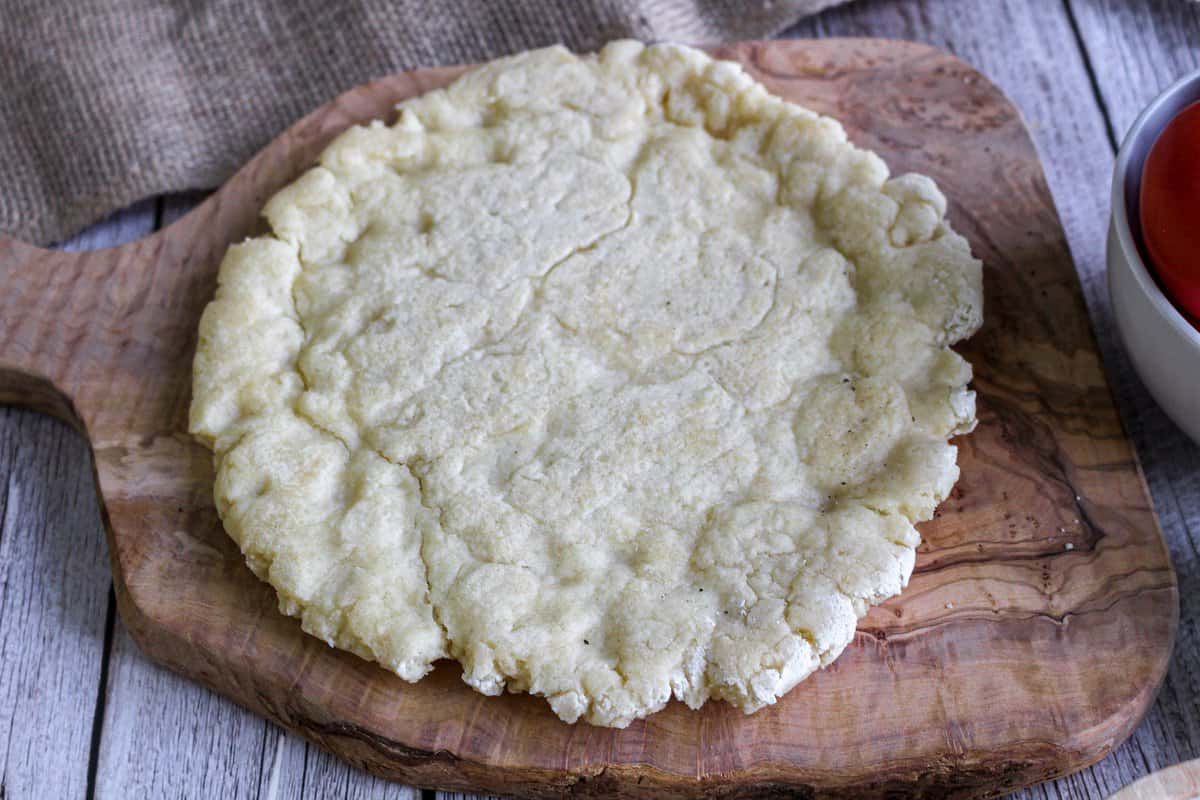
What Is Gluten-Free Pizza Dough Made Of?
Gluten-free pizza dough is usually made from a gluten-free flour blend. The gluten-free flour blend that I use for my gluten-free pizza dough contains rice flour, tapioca starch, potato starch, maize flour, raising agents (calcium phosphate, sodium carbonates), and thickener (xanthan gum).
How To Store Leftovers
The cooked pizza bases keep for up to 4 days in the fridge in an airtight container. It also freezes well for up to 3 months. Defrost it before using it. Reheat it by warming it up gently in the air fryer or oven. However, for the best taste, serve immediately after making.
More Tasty Bread Recipes
This recipe is part of my gluten-free vegan bread series.
If you’re looking for some more easy gluten-free bread recipes, check out some of my other recipes:
- 3 Ingredient Gluten Free Burger Bun Recipe (Vegan)
- Quick 3 Ingredient Gluten Free Dough Balls Recipe
- 3 Ingredient Gluten Free Flatbread Recipe (Vegan)
- 3 Ingredient Gluten-Free Naan Bread
You can see all of my carbohydrate side dishes here.
🥬️🥭️ 7 Day Meal Plan
If you want to discover all of the benefits of eating a plant-based, gluten-free diet, grab a copy of my 7-day meal plan by Green Thickies.
My 7-day detox has been doctor and nutritionist approved and featured on a major national TV channel.
Thousands of people have had incredible results with this meal plan.
Click here to read more about it.
FREE Gifts
🥗 Free Smoothies (Drink And Shrink) Bundle
For A Limited Time, Grab Your FREE 260+ Page Smoothies (Drink And Shrink) Bundle From Green Thickies.
Click here to grab your copy FREE.
🎩 5 Magical Fruit Recipes Book
If you're looking for some easy, raw, fruit-based, complete meal recipes, grab my free recipe book now.
Recipe

3 Ingredient Gluten Free Pizza Dough
Equipment
- Air Fryer
- Oven
- Pan
Ingredients
- 100g Gluten-Free Flour (I Used Gluten-Free Self Raising Flour)
- 90g Vegan Yogurt (I Used Soya Yogurt)
- 1 Teaspoon Baking Powder
- ½ Teaspoon Salt (Optional)
Instructions
- You can either choose to make one big pizza with this dough that will serve 4, or you can make 4 small mini pizzas.
- The first thing you need to do is to add the flour, baking powder, and salt (if using) in a large mixing bowl and stir the dry ingredients using a wooden spoon.
- Add the yogurt and mix until the dough comes together in a ball. If it doesn’t come together, add 1 tablespoon more of flour and mix. Repeat until it comes together.
- Divide the pizza dough into 4 pieces if you’re making mini individual pizzas.
- Roll each piece of dough into a ball or roll the full pizza dough into one ball if you’re making one big pizza.
- If you are making individual pizza bases you can roll the dough on your kitchen surface. However, if you are making one large pizza base, I recommend shaping the pizza base directly inside the container you are using, whether that is a non-stick frying pan sprayed with oil, or greased parchment paper that fits inside your air fryer basket or on your oven tray. If you try and get a large shaped pizza dough from a counter into a container it is likely to break because it’s too large to hold in one hand and flip over. Push the dough into the correct shape using your hands
- The pizza dough can get a little bit sticky and can stick to a rolling pin or your hands, so here’s how to avoid that problem. Add the dough for a mini pizza base to a large piece of greased parchment paper. Add another piece of greased parchment paper on top of the dough. Use a rolling pin to roll the dough ball into a large circle shape. If you want a more rustic-looking pizza, you can use your hands to push the dough into the shape of a pizza. This is a very sticky dough so it is easier if you either use greased disposable gloves, or use wet hands to shape the dough if you’re not using greased parchment paper. Carefully remove the wrap or paper from the top of the dough by peeling it back slowly.
- Next follow the instructions below to bake the pizza using your preferred cooking method.
Air Fryer
- Add the shaped dough with the attached parchment paper directly into your air fryer so that the dough is sitting on top of the parchment paper inside the air fryer basket. If you don’t add it to parchment paper it will fall down the holes in the basket. Make sure none of the pizza bases are touching each other. You might have to bake them in batches depending on how big your air fryer is.
- To add extra crispiness and golden color, spray the pizza dough with oil spray (optional).
- Bake at 180C/ 360F for 3-6 minutes or until the pizza bases have a nice crispness and a slight golden color.
Oven
- Preheat the oven to 180C/ 360F.
- Add the shaped dough with the attached parchment paper directly onto your baking tray so that the dough is sitting on top of the parchment paper. Make sure none of the pizza bases are touching each other.
- To add extra crispiness and golden color, spray the pizza dough with oil spray (optional).
- Bake for 6-10 minutes or until the pizza bases are hard to the touch on the outside and have a slight golden color.
Pan
- Make sure you are able to easily hold the mini pizza bases in your hand without them folding over and sticking to themselves. If the dough crumples up you can always re-roll it. I do this by sliding the rolled pizza dough straight off the surface and onto my hand to keep it flat.
- Carefully and quickly turn the pizza dough upside down into the pan so the parchment paper is now on top of the pizza dough.
- Carefully peel off the parchment paper which is now on top of the pizza base.
- For large pizza bases, shape the pizza dough inside a cold pan by pushing it into shape with your hands instead of shaping the dough on your kitchen surface.
- Add the large frying pan to a high heat (optional: Spray the pan with oil) and cook for 1-2 minutes on each side until golden or until you are able to easily flip the pizza base without it sticking to the pan because it has hardened. Cook for 1-2 minutes on the other side.
- If you want chargrilled marks make sure your heat is high.
To Serve
- Add the pizza bases to a cooling rack. These pizza bases are lovely spread with a little no-cook marinara sauce, some roasted red peppers, and vegan cheese or nutritional yeast.
Notes
Now it’s your turn to make magic with food.
- Gluten-Free Vegan Yorkshire Pudding - August 6, 2023
- Air Fryer Greek Potatoes Recipe (Vegan, Gluten Free) - August 5, 2023
- Vegan Yorkshire Pudding Wrap Recipe (Gluten Free) - August 3, 2023




Leave a Reply